The Idea
Some time ago, I noticed a comment that suggested there may be some interest in a two tube clock design as there were very few (if any) available.
I took it upon myself to combine the idea with my desire to create a clock design based on the Arduino platform driving traditional Nixie Tube Drivers connected to a couple of Nixie Tubes and so the whole thing started crawling into existence.
Firstly, the idea of displaying the time on only two tubes presents an interesting challenge. Several single tube clock designs will display the time (HH:MM) as H, H, M, M and then recycle H, H, M, M and so-on.
The obvious first step is to show HH then MM and recycle – easy enough. However, I wanted to show more, much more! Not only did I want to display the Hours, minutes AND seconds, I also wanted to add the Day, Month, Year, Temperature and Pressure. That’s quite a lot of data to cram in to two digits in anything like a meaningful and understandable way.
Ultimately I settled on the following routine:
The Time would be displayed as HH, followed by MM which is then followed by an incrementing series of five SS. The cycle then repeats HH, MM, SS, SS, SS, SS, SS and so on.
The date is displayed simply as DD, MM, YY, then the display reverts back to time. On the alternate minute, the temperature and pressure are displayed as: TT, PP (first two digits), PP (second two digits), it then reverts to the display of current time.
In order to help distinguish between the various display types, under tube lighting changes according to the type of data being displayed.
For example: Dark Blue for Time, Red for Temperature, Green for Pressure and Orange for Date.
As if this wasn’t enough visual mayhem, every ten minutes, a ‘slots’ routine displays cycling digits on both tubes accompanied by rainbow colour changes on the LED’s
The Electronics
The electronics are fairly straight forward, I had a craving to utilise 74141 Nixie drivers, these are BCD devices which connect directly to the Nixies and require 4 input lines to select the desired digit for display. Using one of these for each tube it needed 8 GPIO lines from the controlling micro. It soon became apparent that there would not be enough lines available to drive the tubes and do everything else that was needed.
The solution was to utilise a shift register – 74595 – which took only 3 lines from the micro to generate 8 outputs, 4 of which went to each 74141 Nixie driver. Job done.
Rather than simply switching the digits on and off, I wanted to fade them in and out. This was achieved by running the Anode supply (170V) through an Opto Coupler which was in turn driven by a PWM signal from the micro. Now the display can fade in and out as required by simply varying the PWM ratio on the micro.
In order to display the temperature and pressure, some form of sensor was needed. I chose the BMP280 as I had used it elsewhere and only required two lines to control. Thus, the data was acquired and could be displayed on the Nixies.
For the under tube lighting, given that I wanted to display many colours I chose to use ‘Neopixel’ style LED’s which are RGB LED’s that are controlled via a single data pin and can be daisy chained for multiple LED displays.
The choice of Micro was dictated by the fact that I wanted the clock to take its time from the internet. The WeMos D1 Mini was selected which is essentially an ESP8266 module on a small breakout board with USB connectivity. It can be programmed from the Arduino IDE and consequently has rich library support.
Gluing this lot together is fairly straight forward though it was still missing some essentials including some form of power to drive it and some code to make it all work.
Whilst I have had some experience of electronics during my career, I had no ambitions to set about designing power supplies to generate 5V and more critically, the 170V which the Nixie Tubes need. So, rather than re-inventing any wheels, I elected to use a readily available Buck Converter to take 12V DC from a plug top power supply and provide the 5V that the micro and associated logic need.
For the 170V I elected to use the NCH8200HV Nixie Tube PSU which is a super compact device from a reputable manufacturer (there are many cheaper clones of this device which I avoid now). It takes 5V in and puts out 170V, just what I needed.
The whole thing was pushed together on some stripboard/veroboard and hooked up to a couple of Z566M’s et voila – a clock was born (did i gloss over the code bit? More on that later)!
Having proved the concept it was time to move the design to a PCB. I had used KiCad in the past but was a little frustrated at the apparent complexity of generating footprints for custom components etc. At around this time, Roddy Scott, a fellow member of my support group (Nixie Clocks Fan Page on Facebook) had shared some work he had completed using easyEDA which is an on-line PCB design tool.
After some discussion, Roddy suggested that he might have some time to kill whilst waiting for some glue to dry on another project and that he could take my schematic and produce a PCB layout. This appealed to me as it meant my easyEDA learning curve did not have to be climbed. I am not sure if Roddy knew what he was letting himself in for though.
After a few iterations, a layout was tested so I took the plunge and ordered a batch of PCB’s.
The initial design goal was to produce a board which would then connect to the Tube Cells that were already available from P V Electronics so the 2 x 6 pin header arrangement was adopted. Subsequently I designed tube cells for other tubes. The idea being that the tube cells would connect to the clock board via lengths of ribbon cable with IDC connectors at each end.
At the same time, and for testing purposes, small tube cells could be plugged directly on to the board.
Roddy came up with another solution which comprised of a circular board for the main electronics and another circular board which plugged in on top and had sockets for either IN-18 tubes or B-13B (for Z566M, GN-4P etc). This would allow a complete standalone version of the clock which could then be mounted in smaller circular case designs. At around this time, the name ‘Gemini’ was adopted.
The Software
This has been an adventure which has lead to much learning and now encompasses a wide range of features including:
Connection to WiFi
Reading Sensors over the I2C Bus
Driving a shift register
Driving NeoPixel LEDs
Syncing time with NTP Time Sources
OTA Programming of the WeMos
Dealing with Timezones and DST definitions
Displaying the various time and data sequences
PWM control of Opto Couplers
Reading and reacting to PIR sensors
Each new part of the code presented its own series of challenges, all of which have (at this present moment!) been overcome though each time it has got to the point of being ready to roll, a new idea springs to mind – and so the process continues.
As of now, the kit of parts to build your own Gemini Two Tube Clock for Remote Tubes is available (square board), please PM me for details.
Loading new software
The WeMos will come pre-programmed, In order to load the latest software into your WeMos you will need to use a tool called esptool.exe which, if you have installed the Arduino IDE on a Windows PC and have added WeMos support then you will find it in your profile path. Mine was located at:
AppData/Local/Arduino15/packages/esp8266/tools/esptool.4.13/esptool.exe
Once you have located the tool, copy it to a working directory where you have also saved the latest bin file for the clock code then execute the following command:
esptool.exe -vv -cd nodemcu -cb 921600 -cp COMx -ca 0x00000 -cf software.bin
Be sure to replace COMx with the relevant COM port for your connected WeMos and replace software.bin with the name of the .bin file that you have received.
eg.
esptool.exe -vv -cd nodemcu -cb 921600 -cp COM6 -ca 0x00000 -cf GemeniOTA-PIR-Async-BMPckeck.ino.bin
Once the software has been loaded, the WeMos will restart and will try to connect to WiFi. Use a mobile phone or other WiFi enabled device to connect to the AP that is broadcast and set it up to access your WiFi. Once this has been done, the clock should run, place the WeMos back on the clock PCB taking care to orient it correctly and power up the clock.
You can monitor the serial port in order to see what the clock is doing, you should see some activity on the tubes if they have been connected.
The software also supports OTA programming so if you already have it connected to your network and you know its IP address, you can update the software OTA using the espota.py python script. You will need to have installed Python for this to work.
A typical command line for this method would look something like this:
python.exe espota.py -i 192.168.100.125 -p 8266 –auth=Z566 -f GemeniOTA-PIR-Async-BMPckeck.ino.bin
You will need to know the IP address of your WeMos, the password is ‘Z566’.
There was a bug fixed on 16/04/2020 where only 2 of the 3 neopixels on the Z566M tube board were being driven, click the download link for the update.

Prototype V0.0
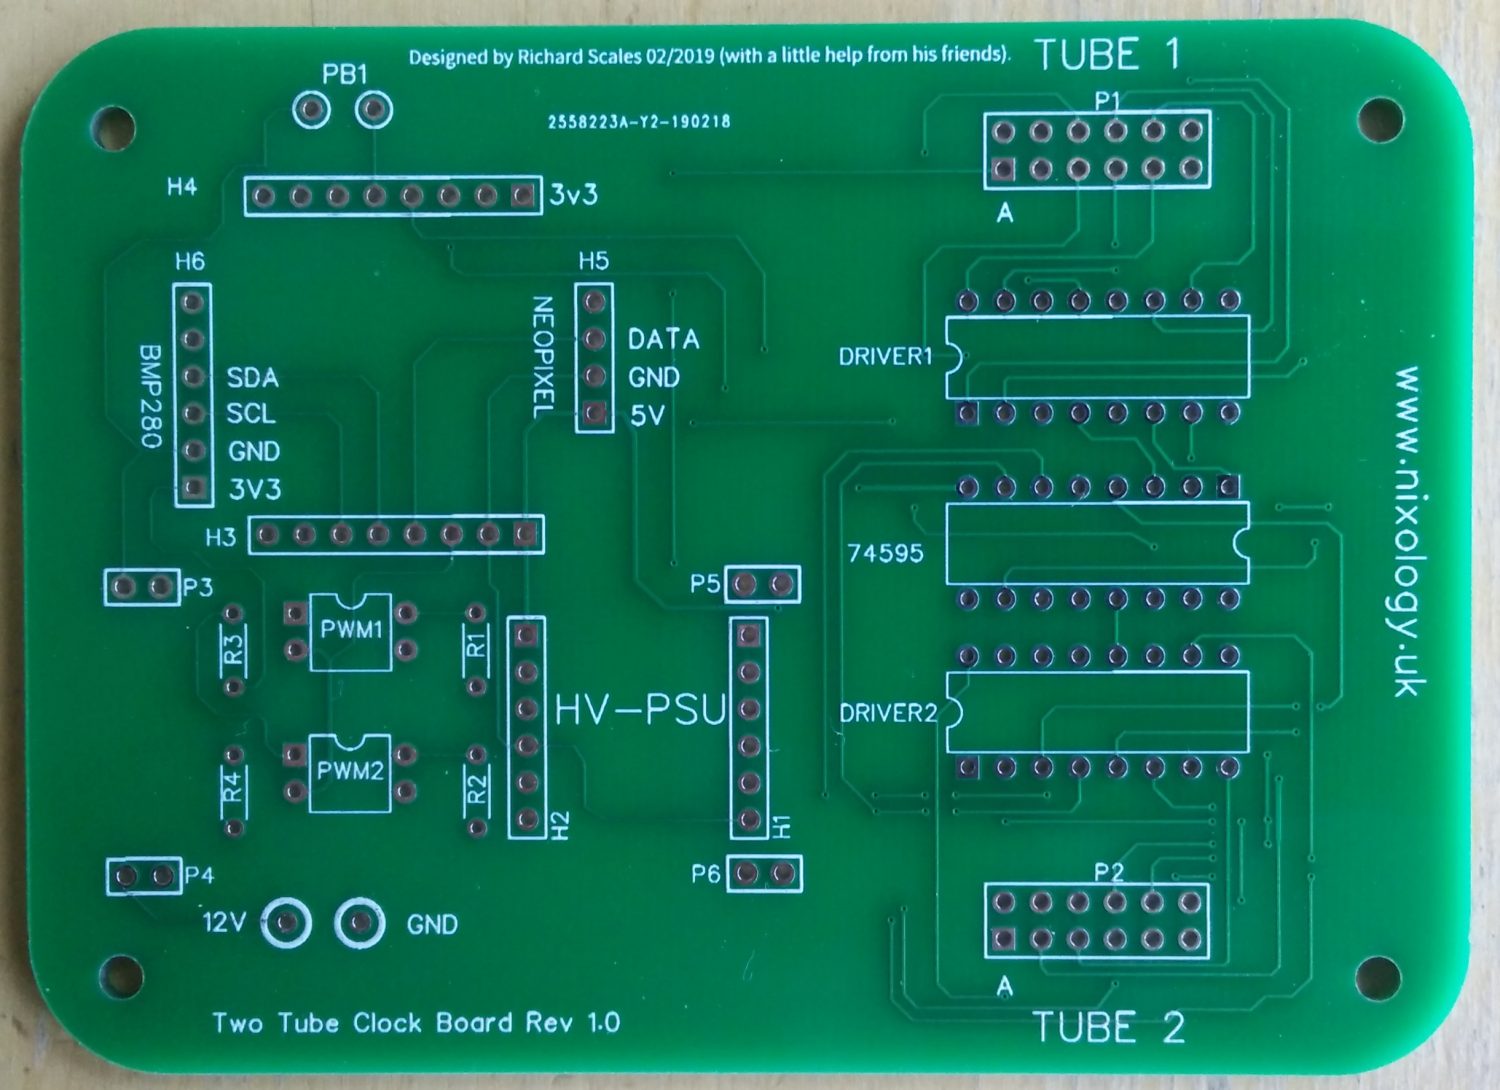
ProtoType V1.0
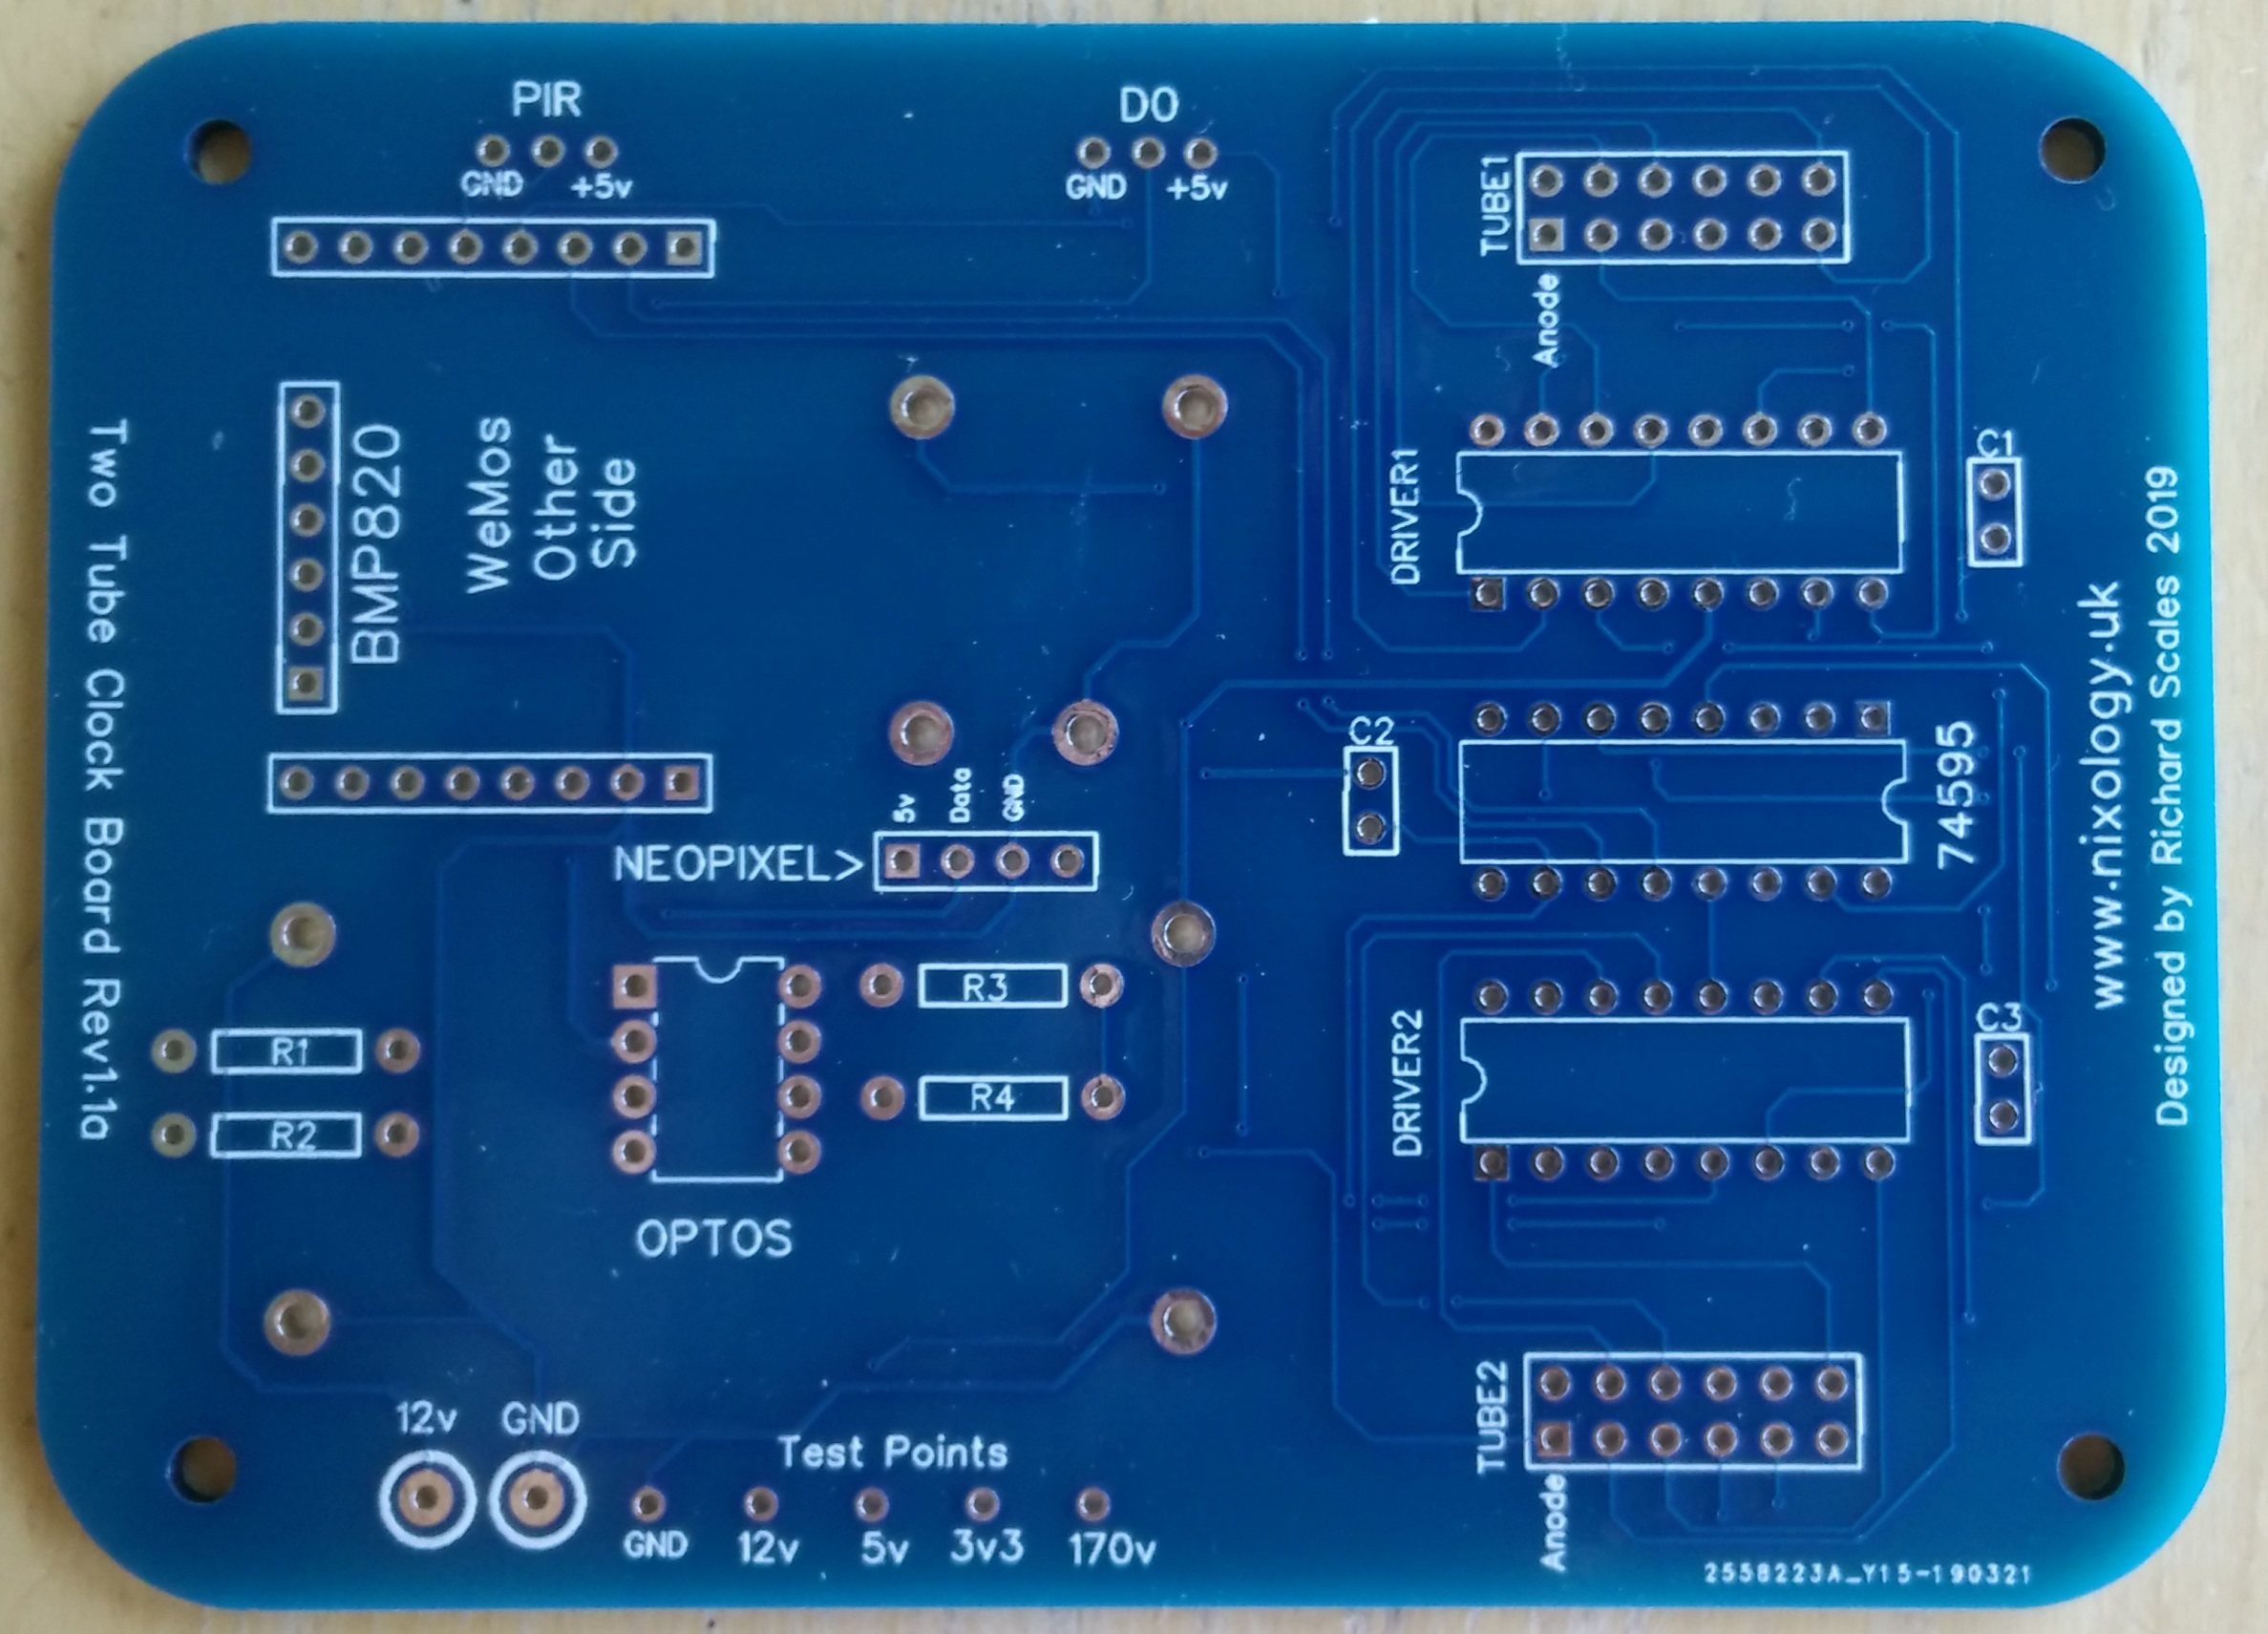
Prototype V1.1
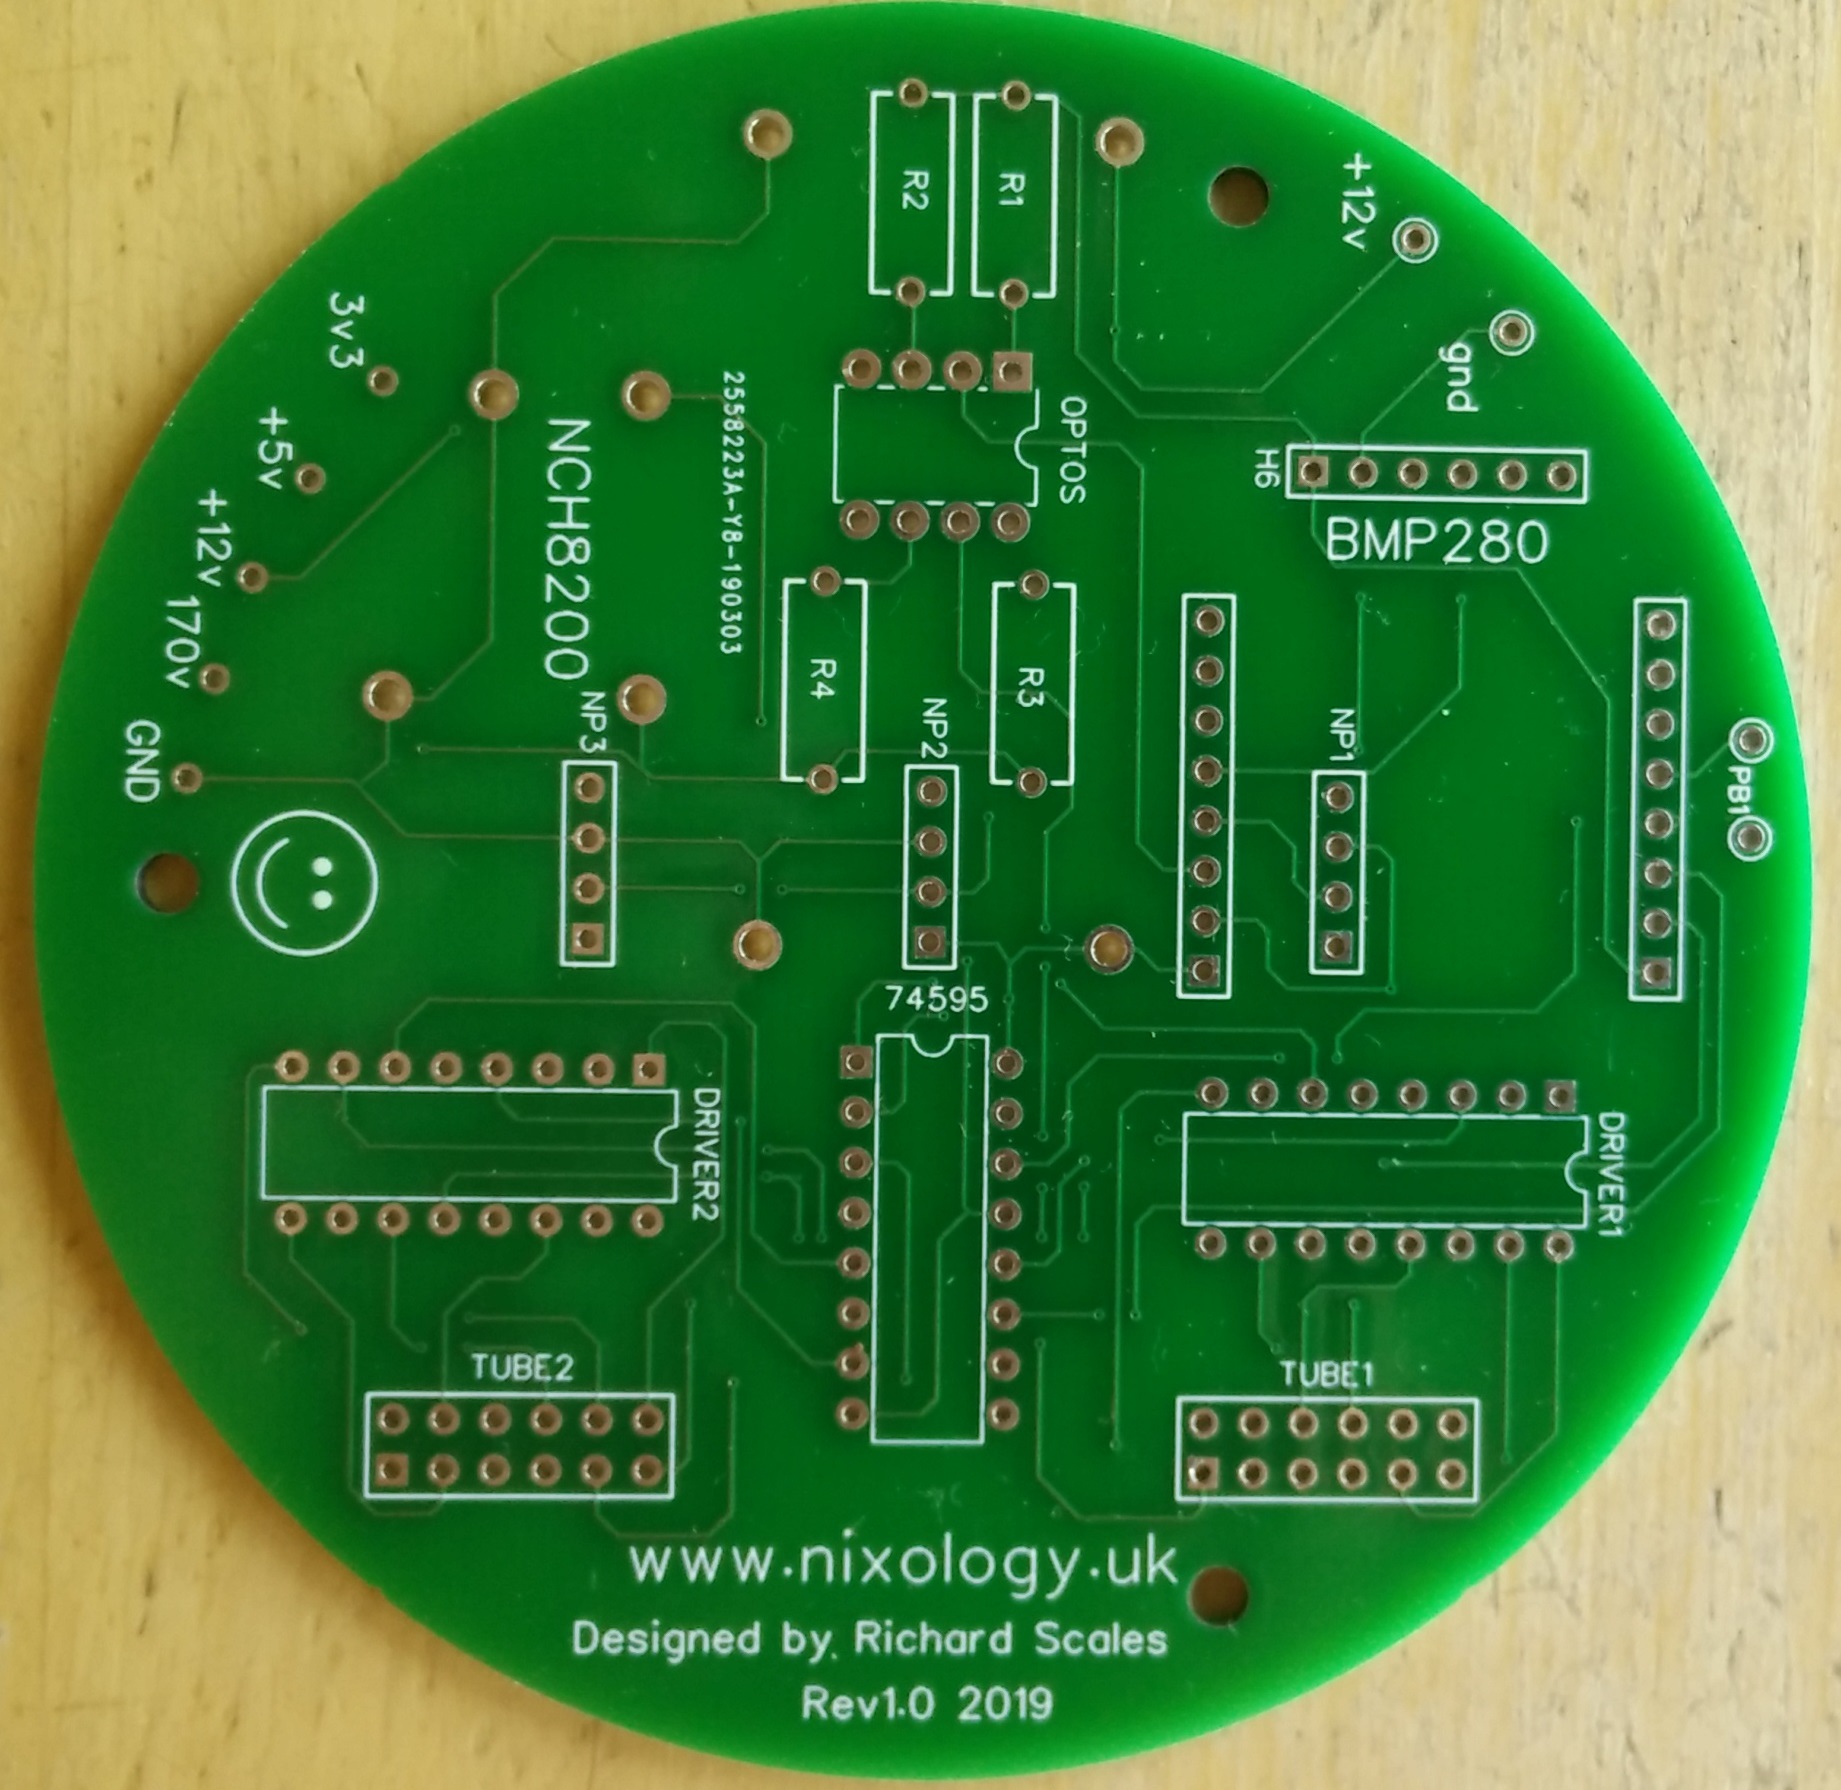
Prototype V1.0 Round Version
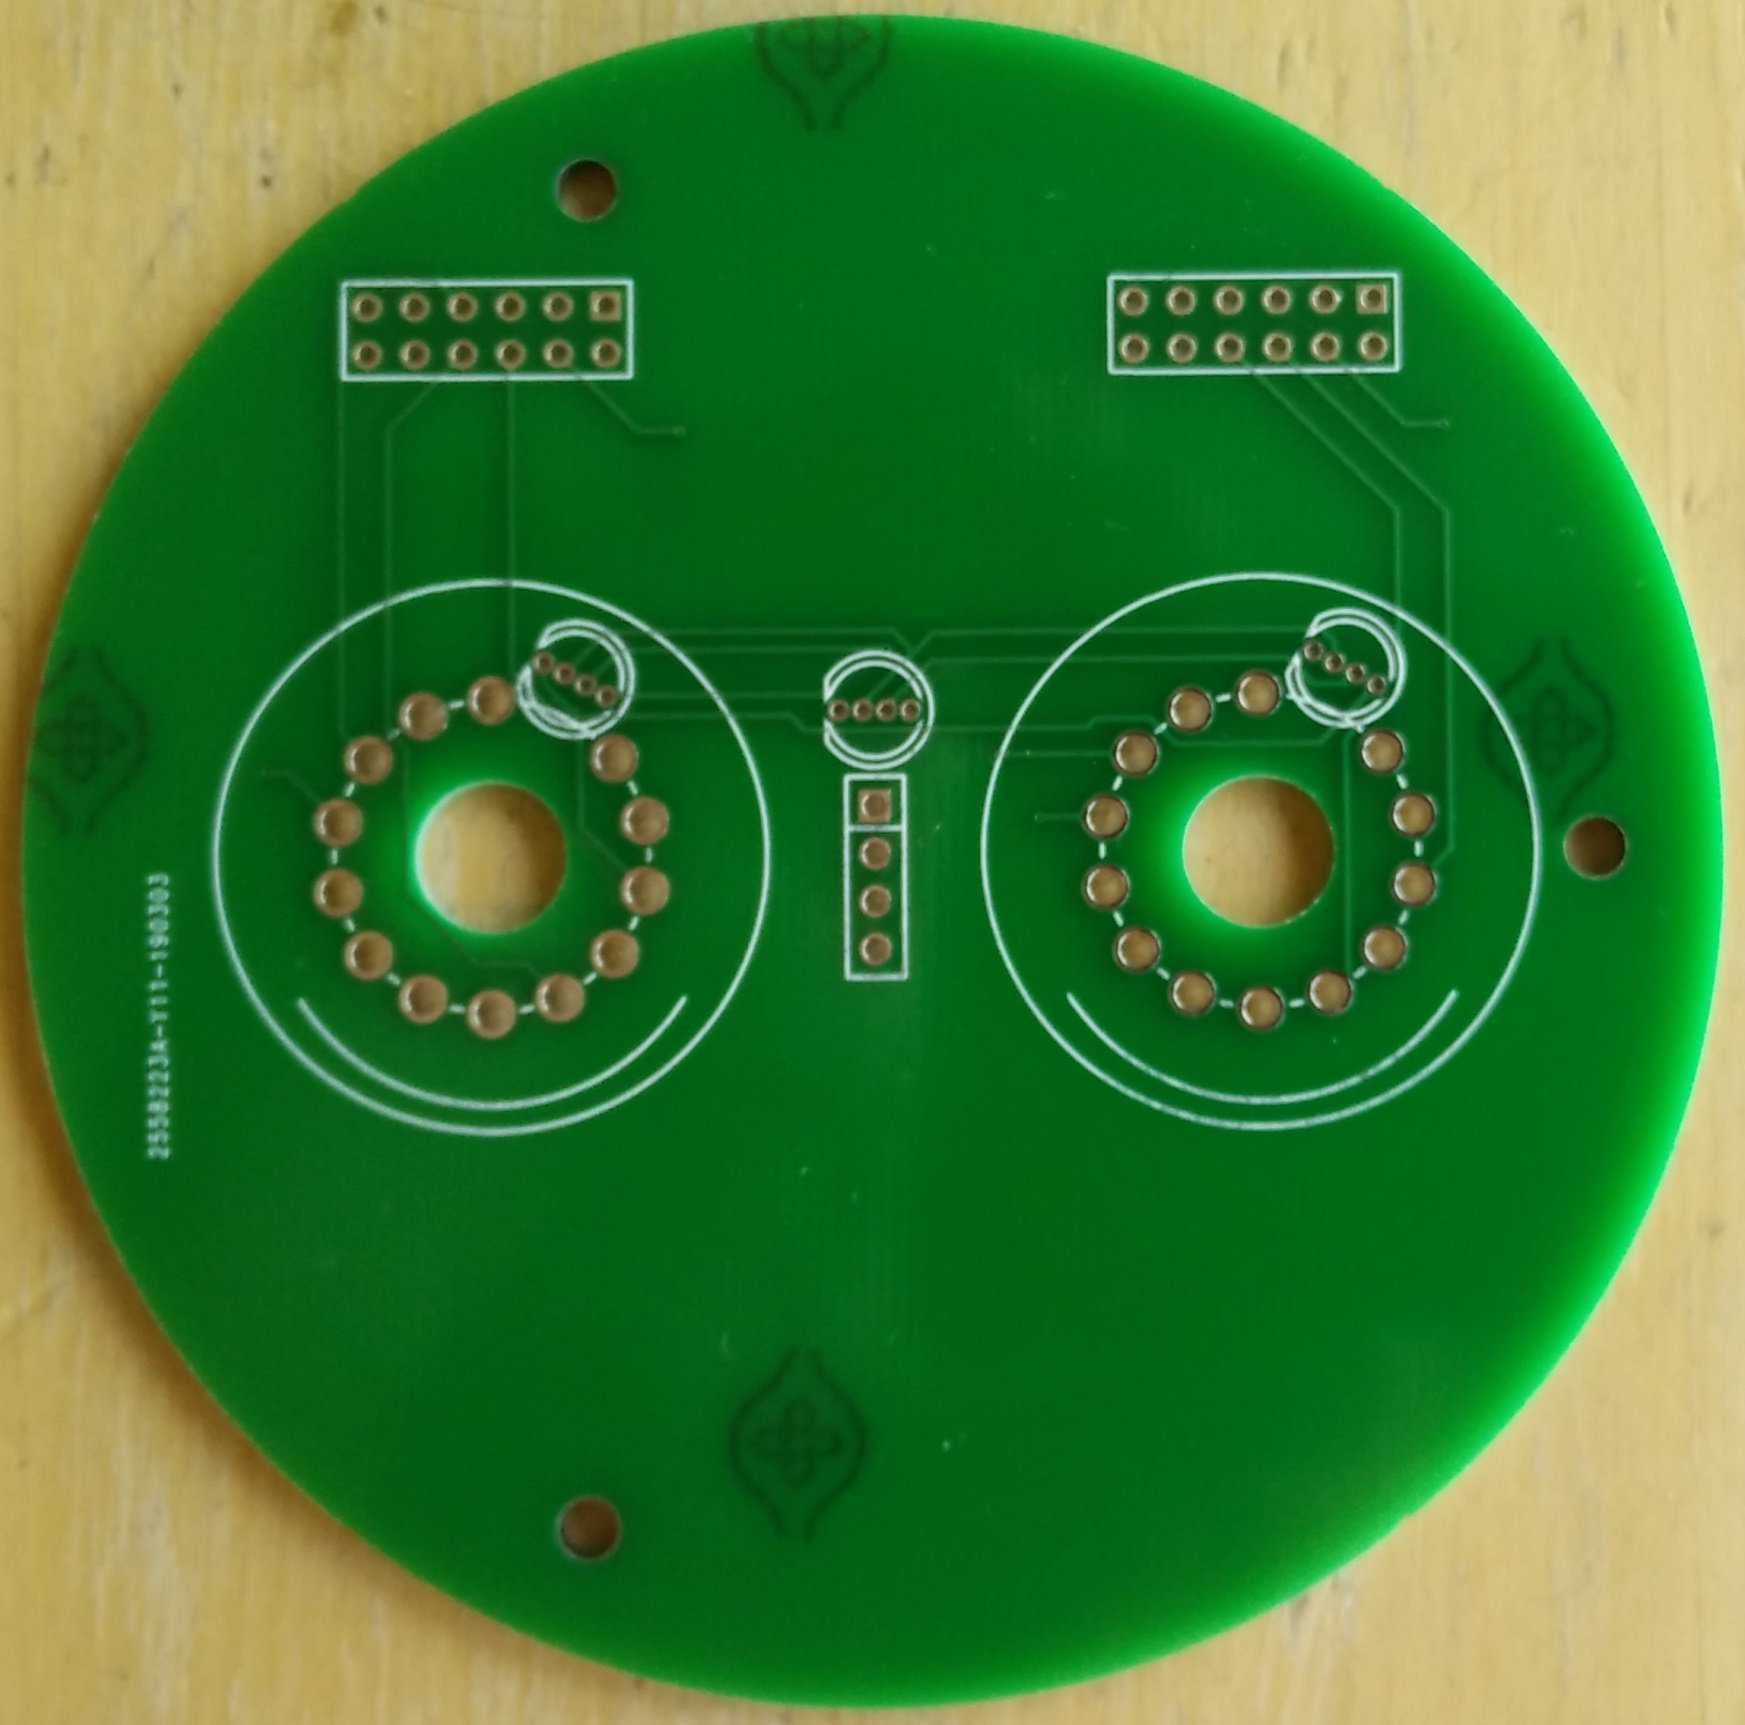
Round Version Tube Board for Z566M etc
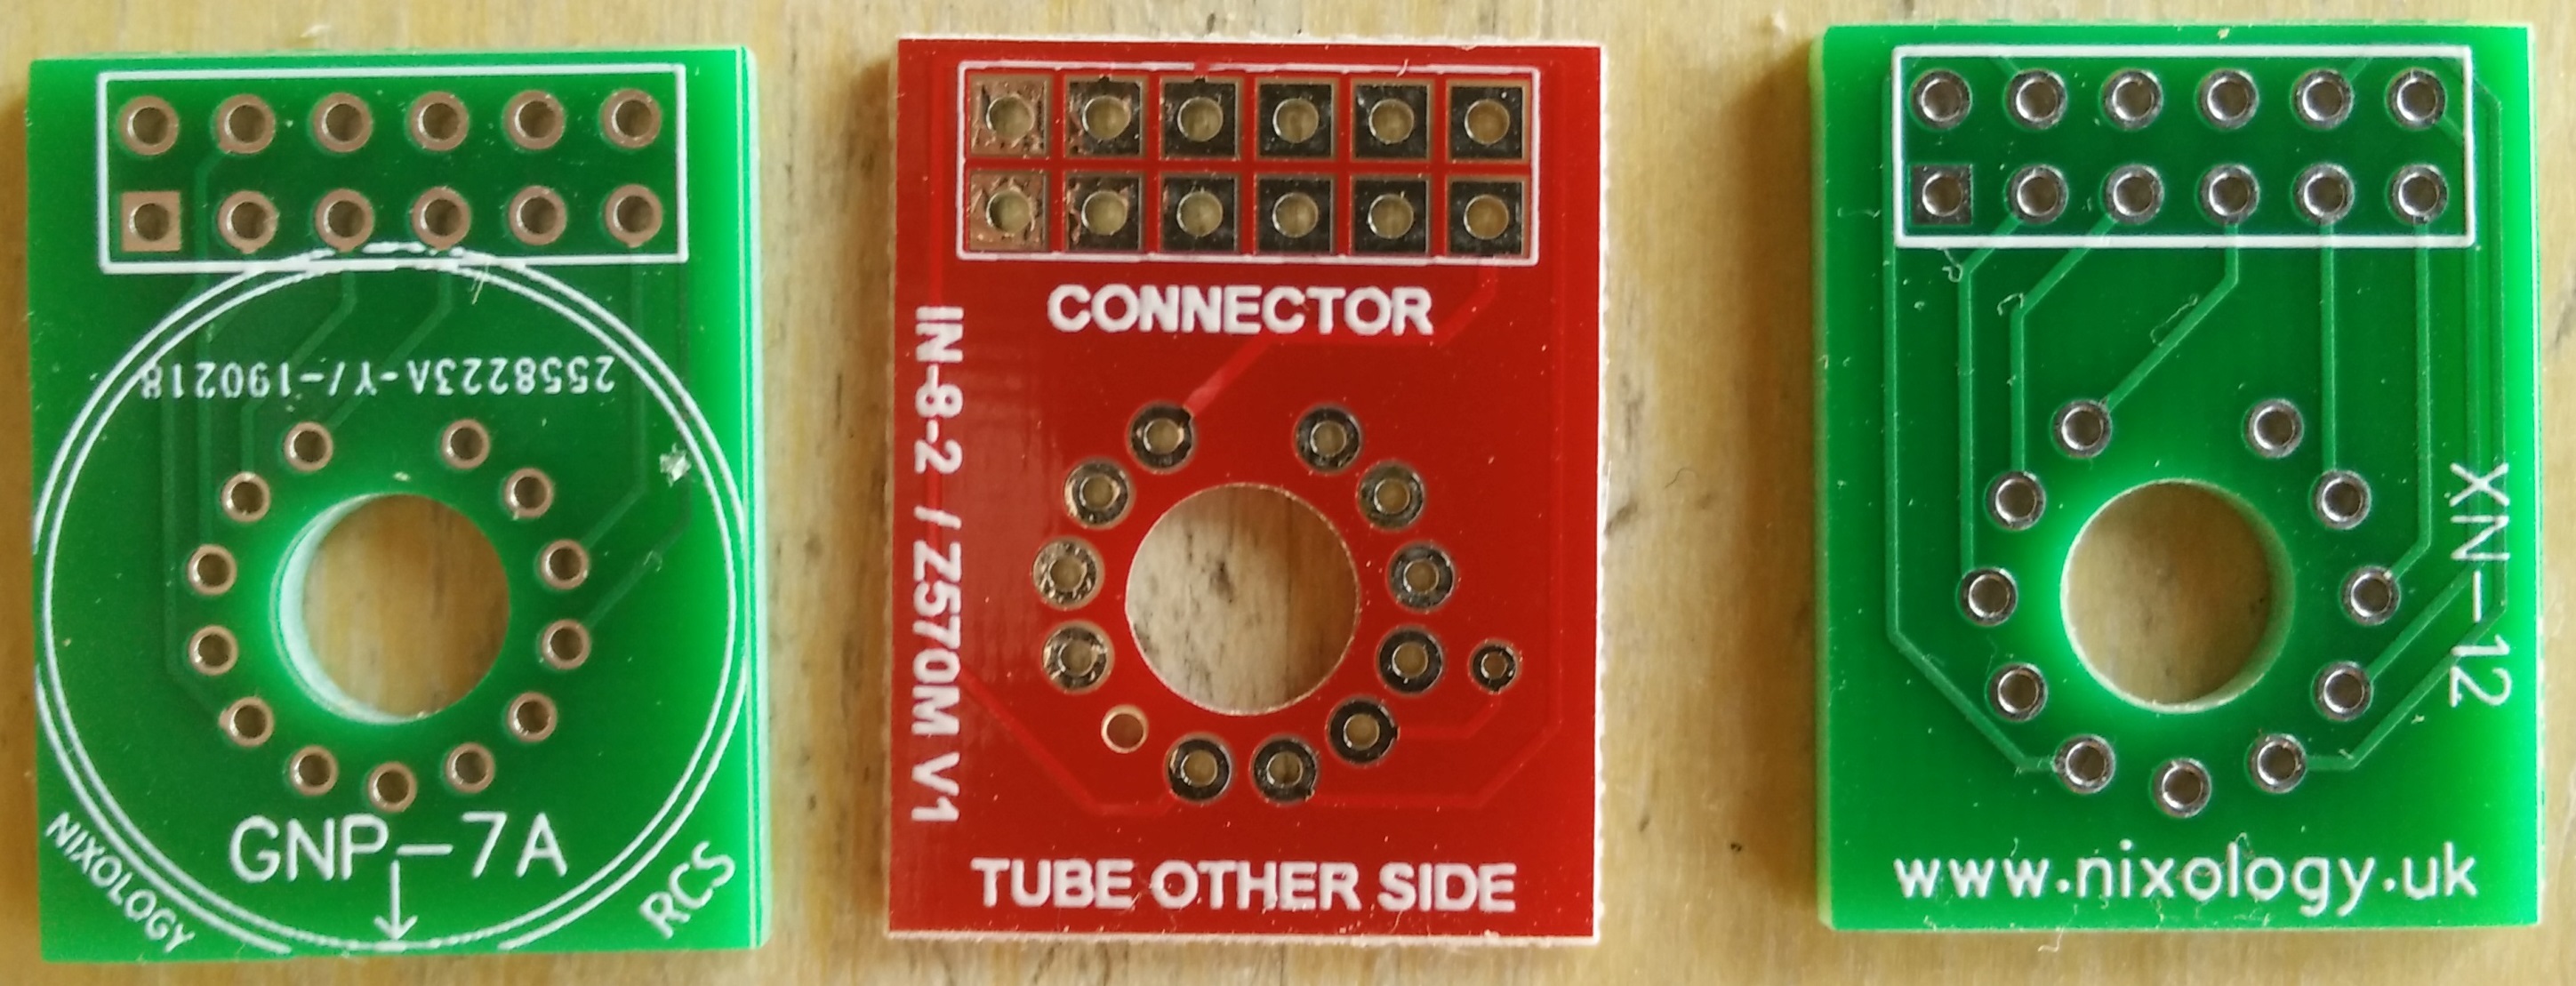


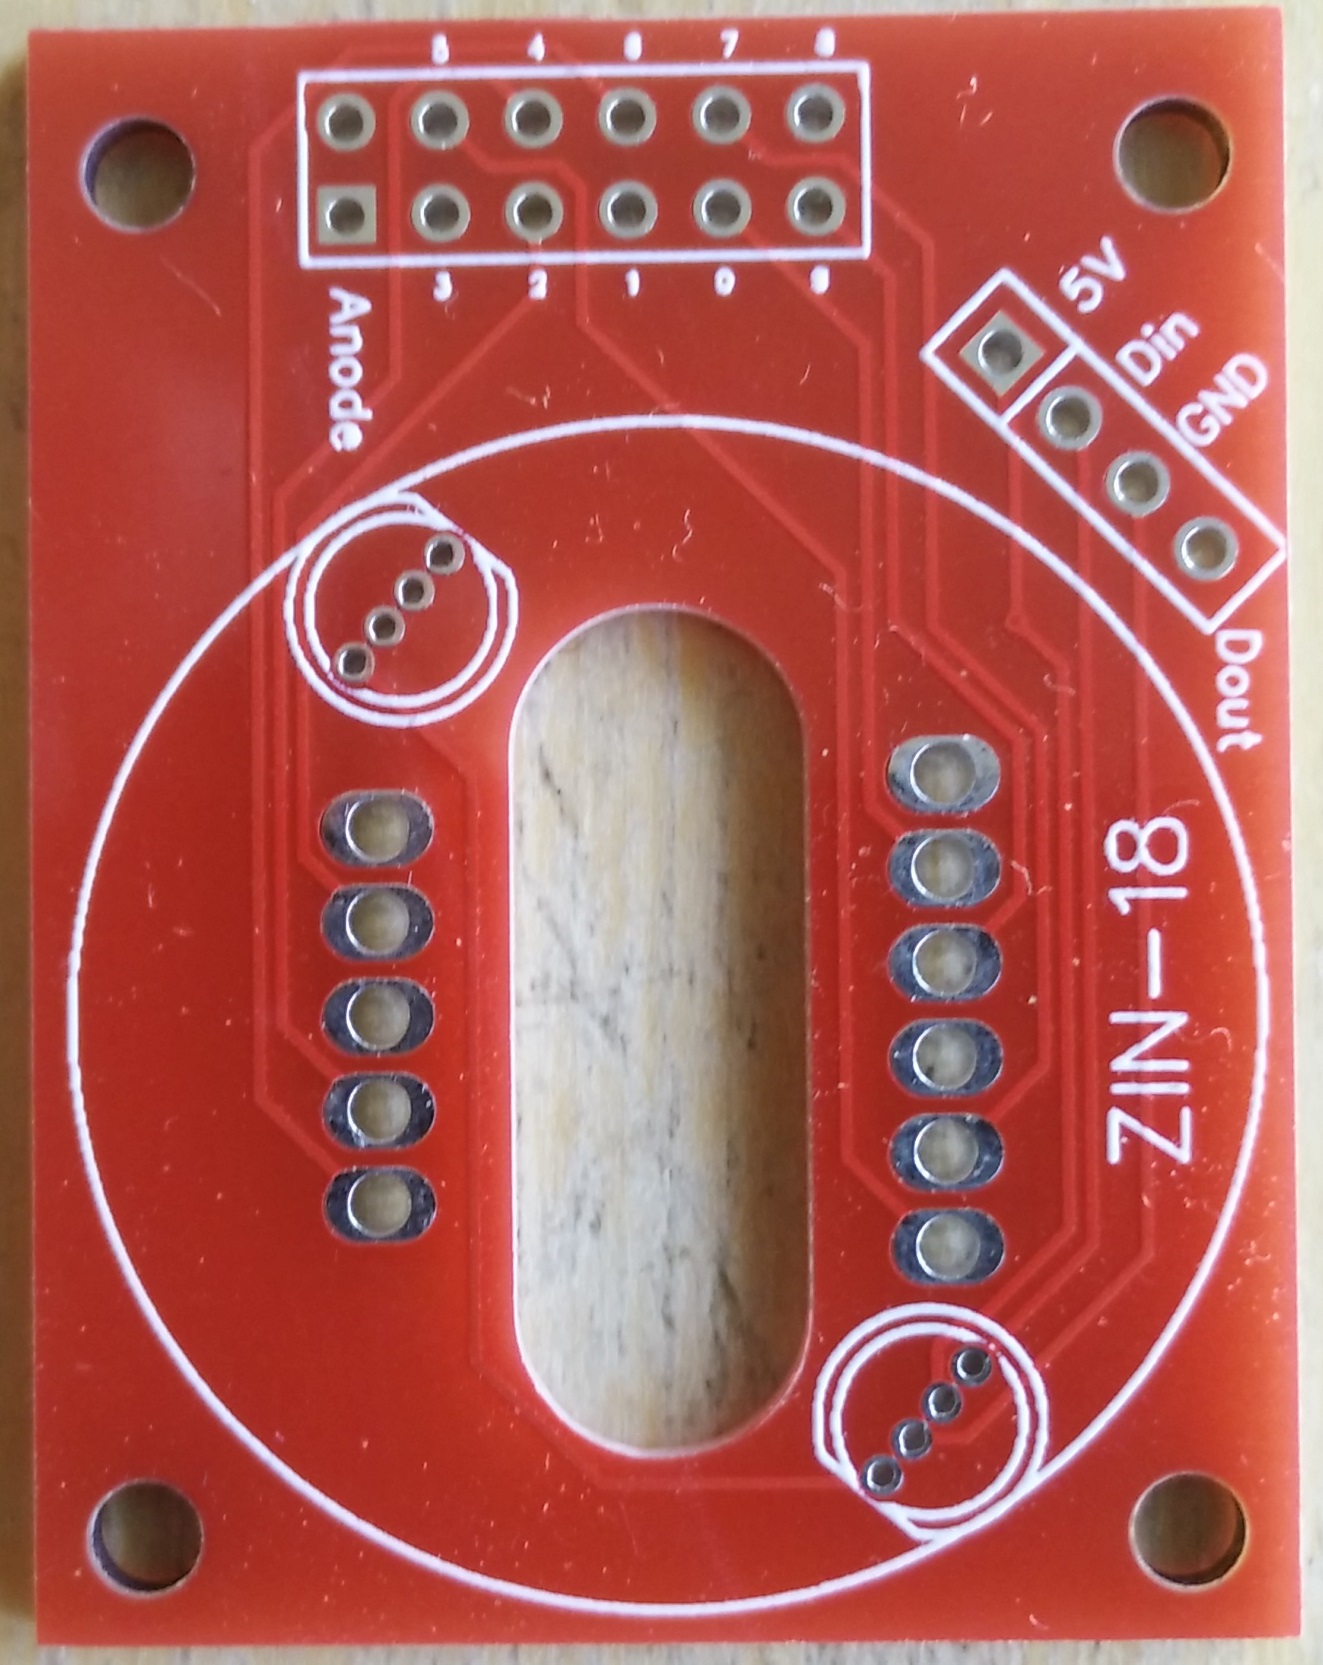
Various Tube Cells