Available now!
A WeMos based creation to drive SP-353 Panaplex displays consisting of three boards which sandwhich together to make a compact device which is not much larger to look at than the displays themselves.
There are 6 digit versions using two SP-353 3 digit displays or three SP-352 2 digit displays. There is a 9 digit version which uses three SP-353 3 digit displays.
The design follows on from the SP-101 Panaplex clock and features the same core components: A WeMos Micro Controller, LV and HV Supplies, sensors and detectors, HV5622 shift registers and the SP-352 / SP-353 displays.
Ultimately this will form the basis of a platform that could be used with customised software to connect to the internet, sync NTP time, gather and display any required information that will fit on to 6, 8 or 9 seven segment displays.
A BOM and construction guide is available – please use the link below to express your interest.
The boards are very similar to the pictures on this page though with a few improvements and a few less blunders.
I am happy to provide boards with construction notes and a B.O.M which includes ordering info for most of the parts from mouser.com.
If you would prefer to purcase a set of parts which includes most of what you need (minus the displays and fixing hardware) then PM me for details.
If I can secure some displays – either pre-used (but working) or ‘New Old Stock’ then I may be able to offer a limited number of kits which include the displays. Please contact me if you would like to be informed if/when this happens or use the form linked below.

Controller and power supplies
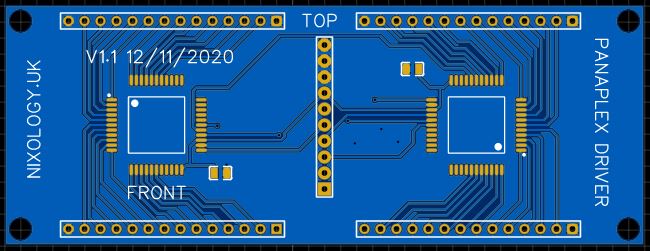
Shift registers for HV control
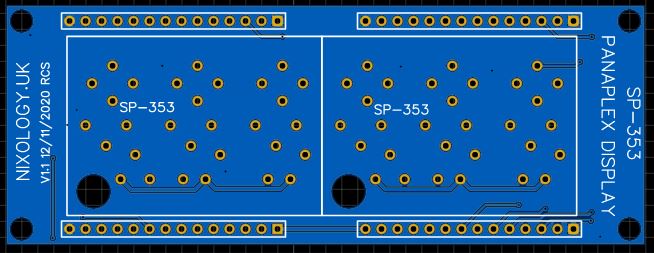
Display board for two SP-353 Panaplex displays
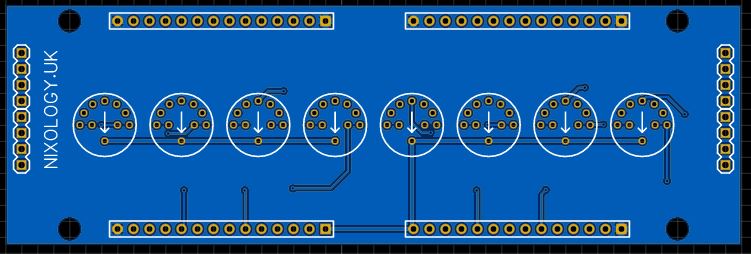
A display board for eight MG-17F single tube Panaplex style displays
–
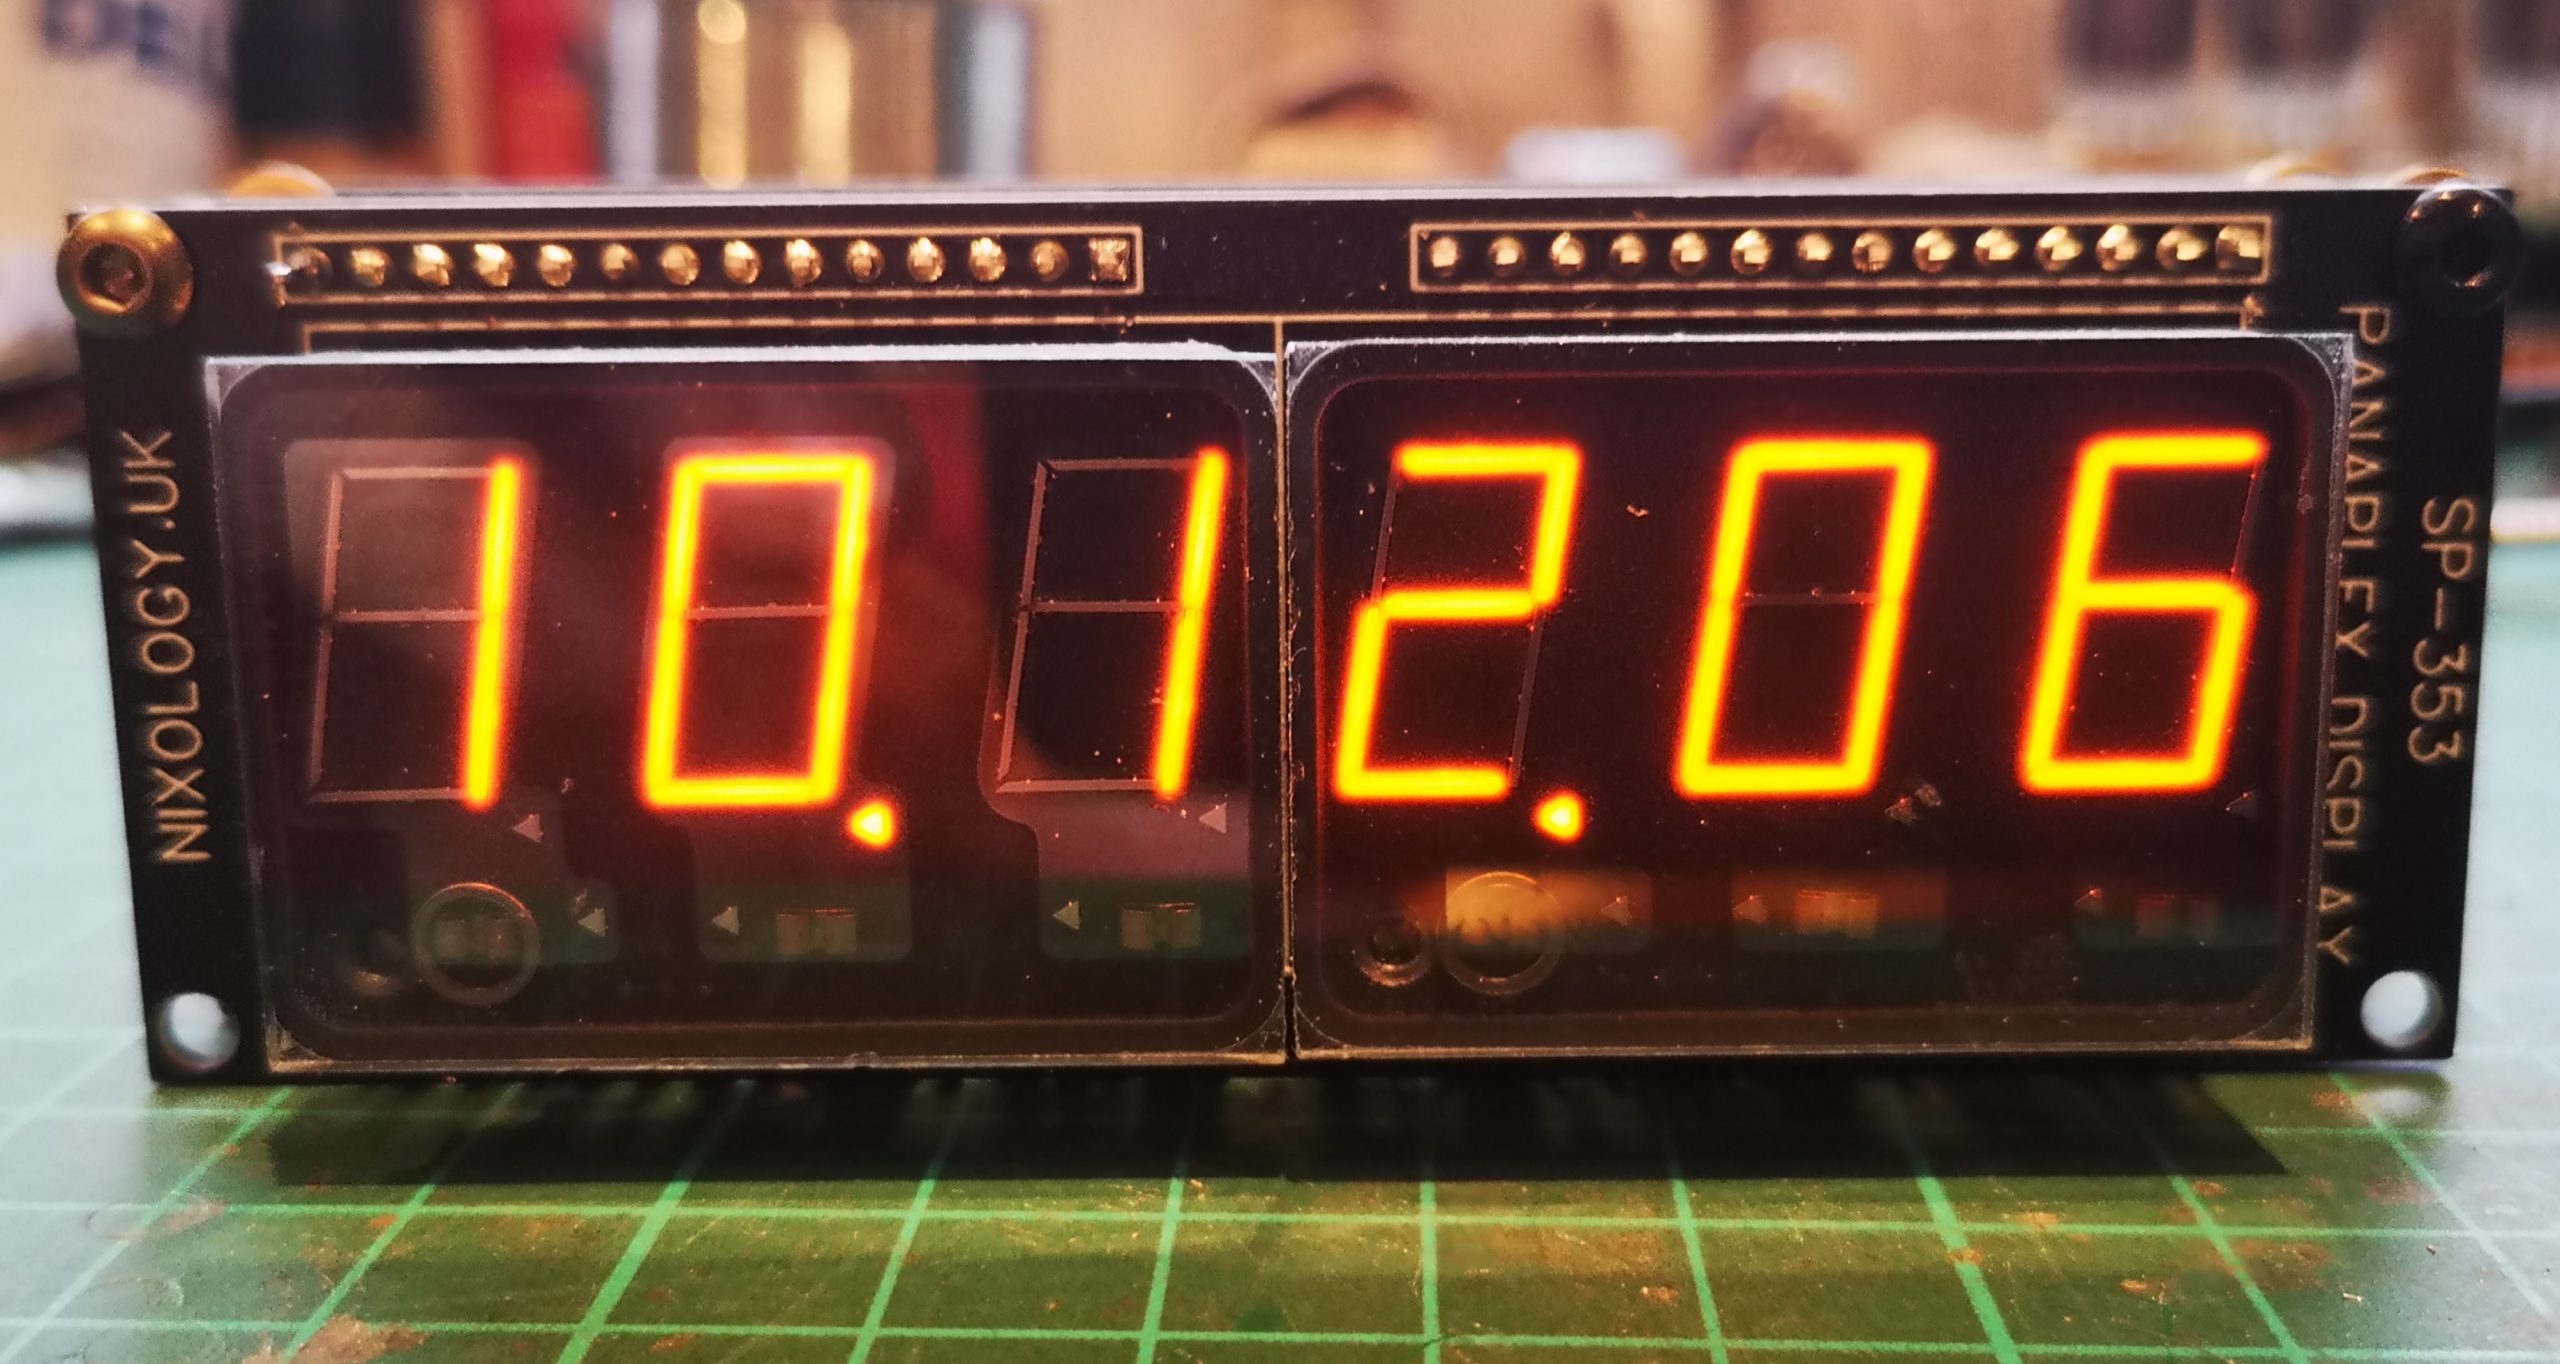
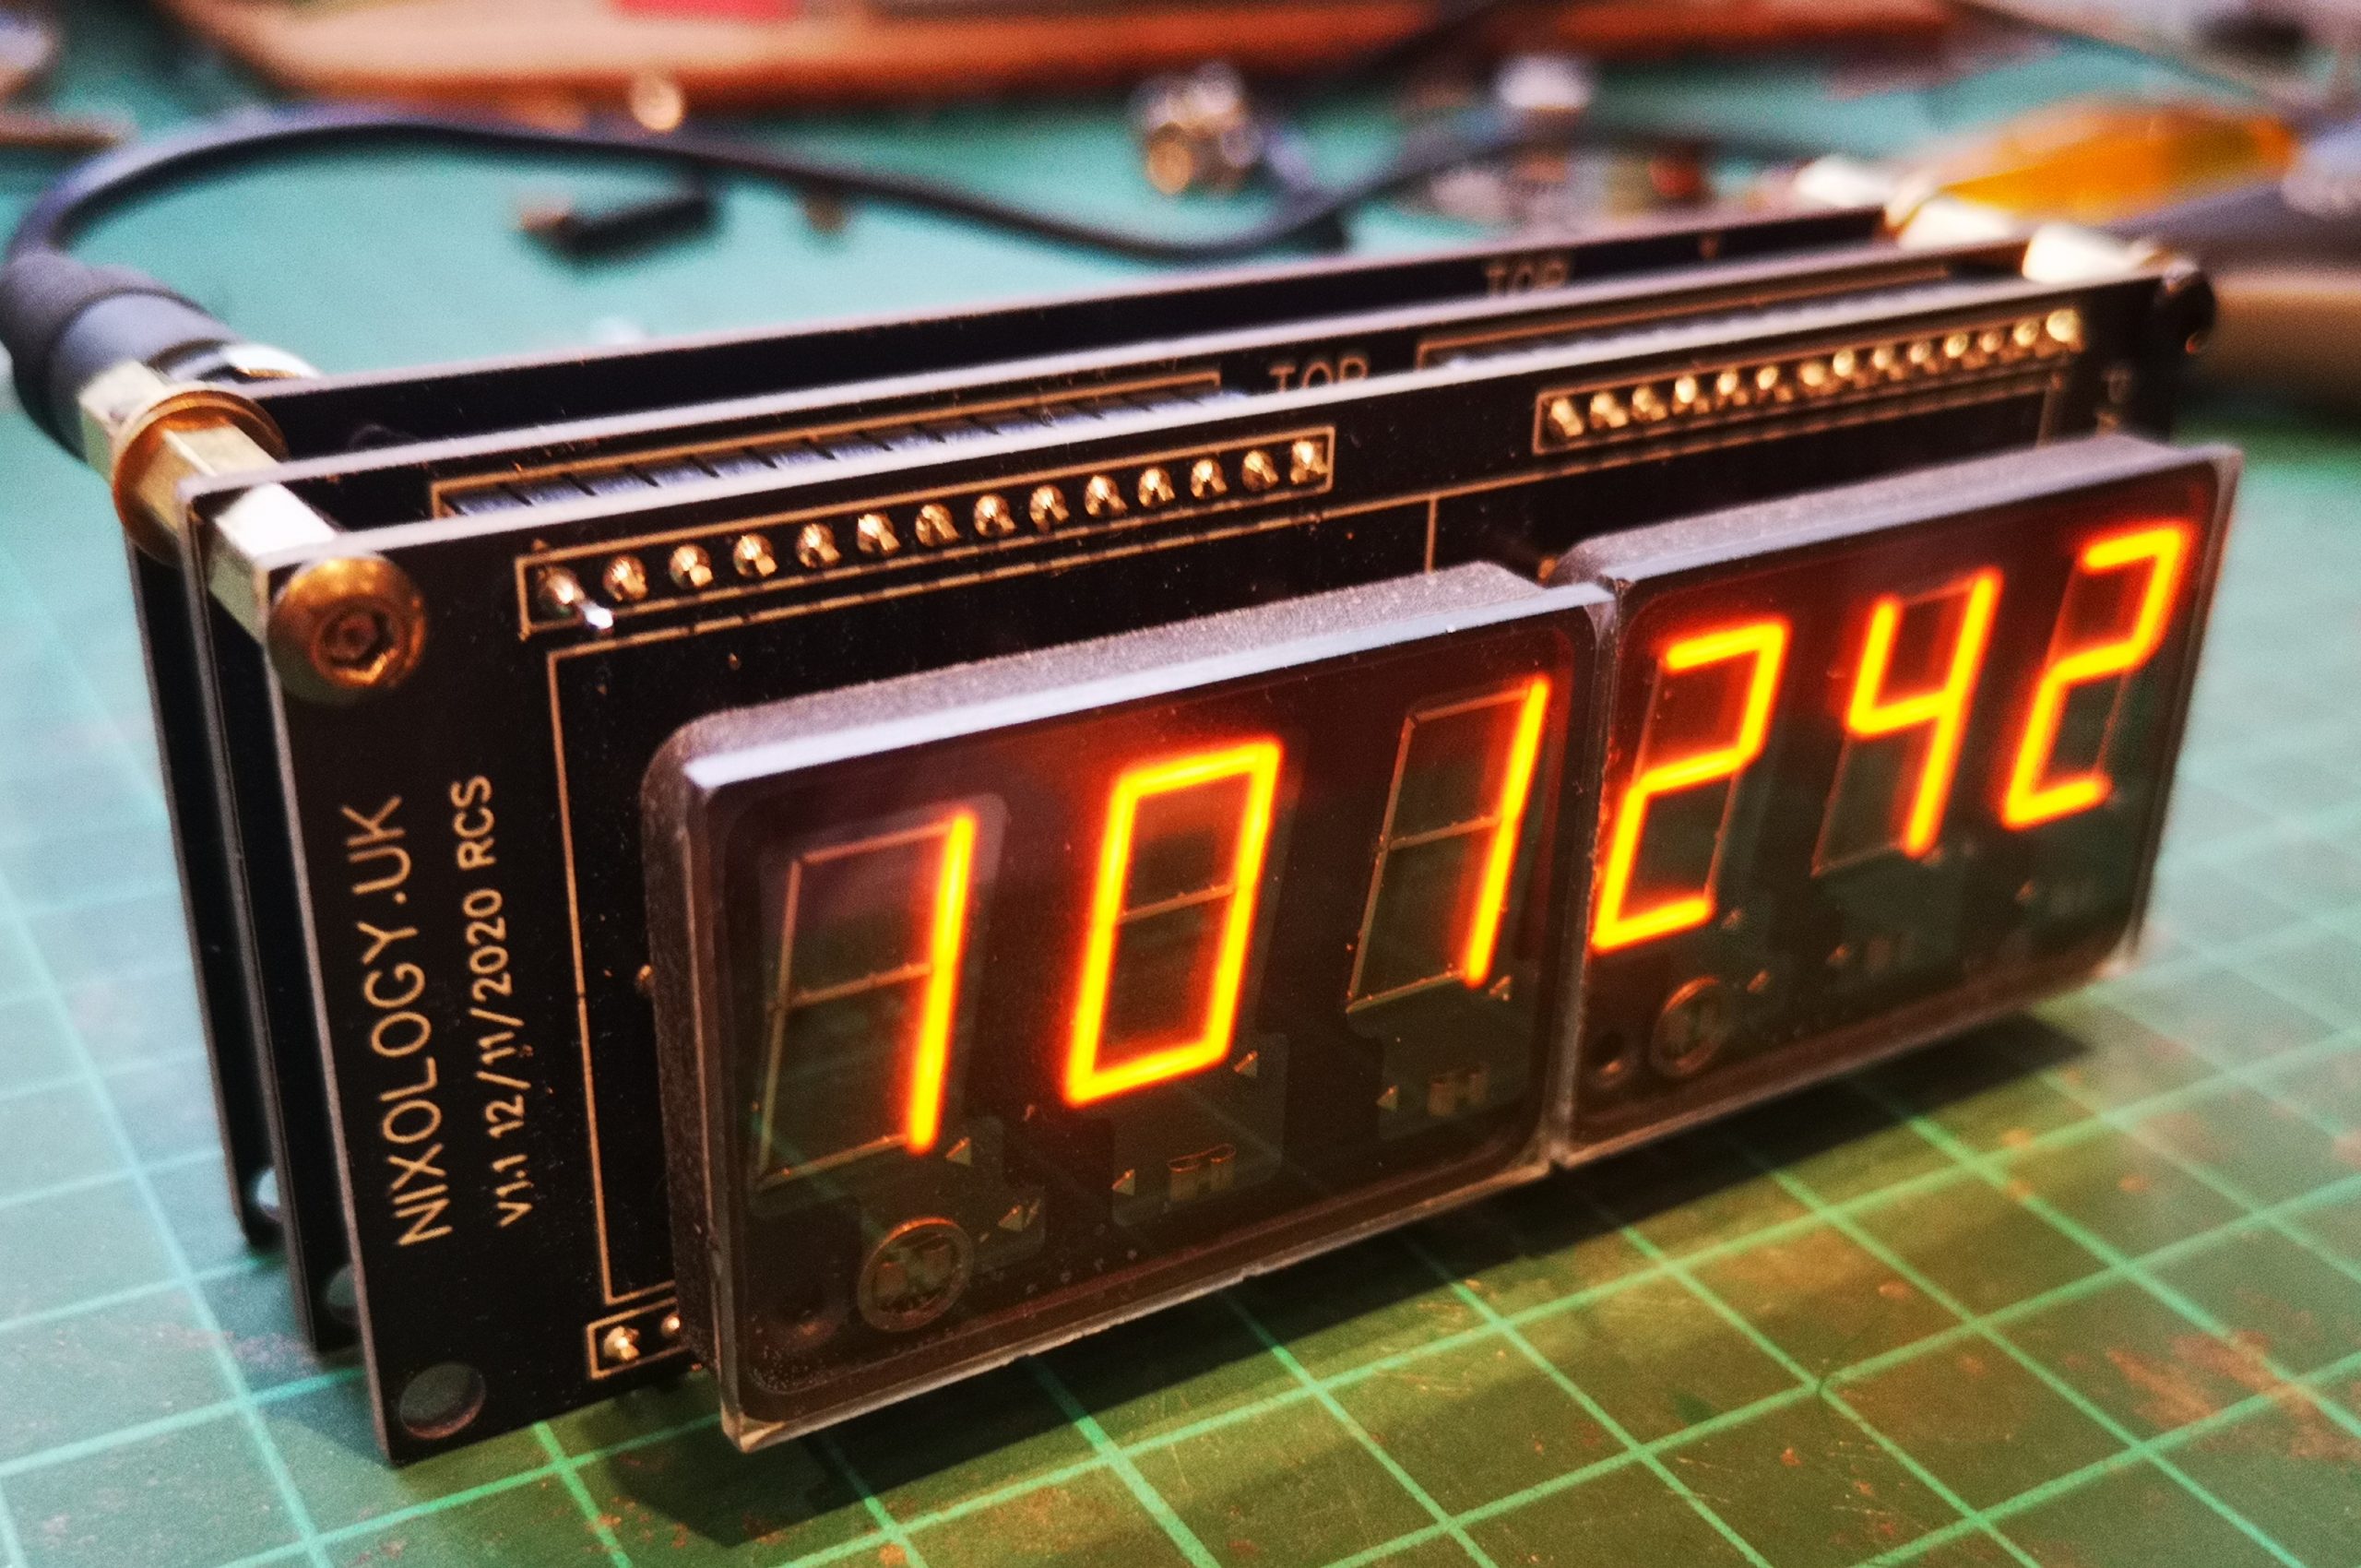
SP-353 6 digit clock in operation
For the six digit clocks, the decimal points are used as flashing colon/separators, on the 8 and 9 digit versions, horizontal digit segments are used instead.
Case Challenge – Calling all creatives!
When it comes to putting things in to cases – I am most certainly challenged. For this design I very much wanted to keep it as small as posible when looking from the front which is why all the electronics is piled up behind the displays.
I have no 3D printing skills whatsoever but I can see that this design may well lenditself to having some form of 3D printer case with the clock sliding in from the back, the displays flush with an apeture at the front of the case. A rear cover is fixed to the back of the clock and the whole thing is kept in place via some screws at the rear, a hole which allows the power cable to plug right in to the board and slots for connection of the BMP sensor and PIR device – or perhaps build the PIR in some how – who knows?
Constructors Comments
If you built one of these and would like to publish any comments about it then please send them to me.
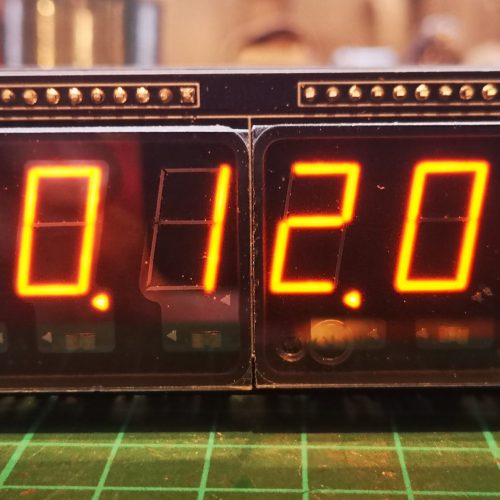
Bau einer Uhr mit 2x SP-353 Panaplex Anzeigen ( Bausatz und Anleitung von Richard Scales)
Lieferung erfolgte sehr schnell. Alles war gut verpackt und vollständig.
Zum Aufbau – in der Anleitung ist alles sehr gut beschrieben. Man sollte sich auch strikt an die beschriebene Reihenfolge halten. Die verschiedenen Aufbauschritte sind gut beschrieben und bebildert. Man sollte bei diesem Bausatz entsprechende Kenntnisse, Fertigkeiten und Werkzeuge zum Löten von SMD besitzen. Besonders U4 und U15 sind dort entsprechend mit Vorsicht und Gründlichkeit zu löten.
Bei Beachtung aller Hinweise gelingt der Aufbau sehr gut. Bei Problemen hilft Richard schnell und kompetent.
Die Konstruktion der Leiterplatten ist gut durchdacht , damit sehr platzsparend. Richard hat gute Lösungen gefunden und verwirklicht. Die Anzeigen SP353 werden über Steckkontakte mit der Leiterplatte verbunden. Damit ist ein leichter Austausch bei defekter Anzeige möglich.
Alles in allem ein sehr guter Bausatz , der bei entsprechenden Fähigkeiten im Aufbau und Gründlichkeit schnell zum Erfolg führt.
Danke Richard für deine gute Arbeit !”
Wolfgang T.
Germany
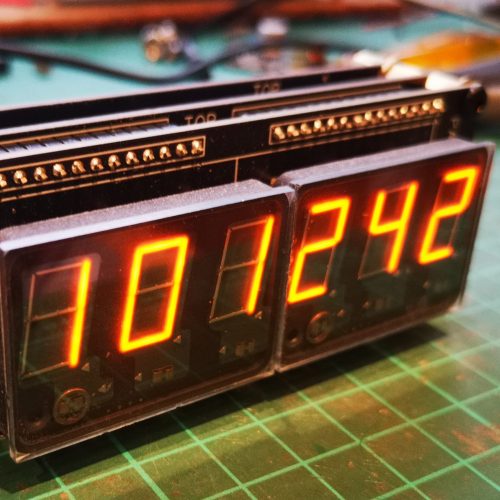
Construction of a watch with 2x SP-353 Panaplex displays (kit and instructions by Richard Scales)
Delivery was very fast. Everything was well packed and complete.
For the setup – everything is described very well in the manual. You should also strictly adhere to the described order. The various construction steps are well described and illustrated. This kit should have the appropriate knowledge, skills and tools for soldering SMD. Especially U4 and U15 have to be soldered accordingly with caution and thoroughness.
If all the indications are taken into account, the setup succeeds very well. In case of problems, Richard helps quickly and competently.
The construction of the printed circuit boards is well thought out, making it very space-saving. Richard has found and implemented good solutions. The SP353 indicators are connected to the printed circuit board via plug-in contacts. This makes it possible to easily replace the display if the display is defective.
All in all a very good kit, which leads quickly to success with appropriate skills in construction and thoroughness.
Thank you Richard for your good work !
Wolfgang T.
GERMANY
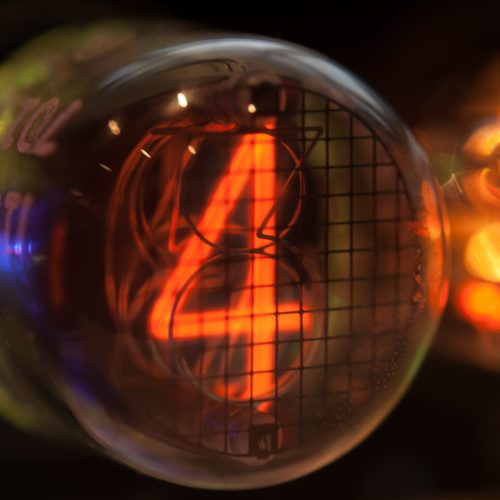
I’d like to take this opportunity to offer both my compliments and thanks in regards to your new SP352 wifi clock kit. Well done, sir.
The build took me several evenings, working at my own pace. I found the quality of the boards and component selection to be top notch, and the assembly guide very comprehensive.
Well above what I expected.
I was a bit apprehensive when it came to mounting the SMT components, as I don’t typically work with them, but patience and a good set of watchmaker tweezers won the day. And good flux. Good flux was a must.
At this point I have the clock up and running. I’ve made a few minor code changes for timezone, and converted data from the bmp280 sensor to imperial units, but I’ve otherwise left it as found.
I haven’t decided on a case. I’ll send you a few pictures once I’ve worked that out. I had intended to repurpose a case from a broken Heathkit GC-1107, but as luck would have it I was recently able to fix that clock.
Thank you again for your assistance and words of encouragement while I was finalizing the build.
Very much appreciated.”