Yet another Panaplex!
I seem to have developed more than a passing fascination with Panaplex displays. It started with the ZM1350’s from Telefunken, then the Beckman SP-101’s and more recently I have discovered Sperry SP-151’s.
The SP-151 is an ‘all in one’ kind of display that was most defintley aimed at the clock market place as it has AM and PM indicators as part of its layout.
It’s a much smaller device than the others so that presented a bit of a challenge in itself, I didn’t want to make something that was much bigger than the display so I ended up hiding as much as possible behind the display. A bit like a CRT TV, looks great from the front but extends way back!
Another consideration is that the display only has three full seven sigment digits, the fourth left-most display is made up of only two segments for displaying a ‘1’ so this is going to be a 12hr clock device though the AM/PM indicators will help in telling what half of the day it is – in case it’s not obvious!
These displays were supplied without sockets so the first challenge was working out how to mount the things. Ultimately I found that the socket pins used in ‘turned pin’ IC sockets were ideal so I set about designing a PCB which would accept these pins. Fortunately there’s a datasheet which specifies the locations of the 30+ pins so this was not a major task. When the boards arrived, I loaded one with pins that I had ‘removed’ from turned pin IC sockets and it was a perfect fit.
The device works like most other nixie tubes. A common anode connection connects to 170V then the anodes need to be grounded in order to light them up. Because the anodes vary in size, individual cathode series resistors are used to limit the current for each segment to the prescribed values. Even though I used slightly higher value resistors in order to work on the lower side of the specification, I noticed that the displays ran ‘warm’ after a little while so I applied a PWM signal to the Blanking input of the driver to limit their duty cycle and found that I could reduce it to <50% and still got a bright display that didn’t warm things up.
Having recently had success with the HV5622 driver from microchip – I decided to use the same for this project. I needed to control a total of 30 different segments and display parts so the HV5622 with its 32 outputs was ideal.
I took the brave (for me) step of using the surface mount version along with surface mount resistors for the driver part of the assembly in order to save space.
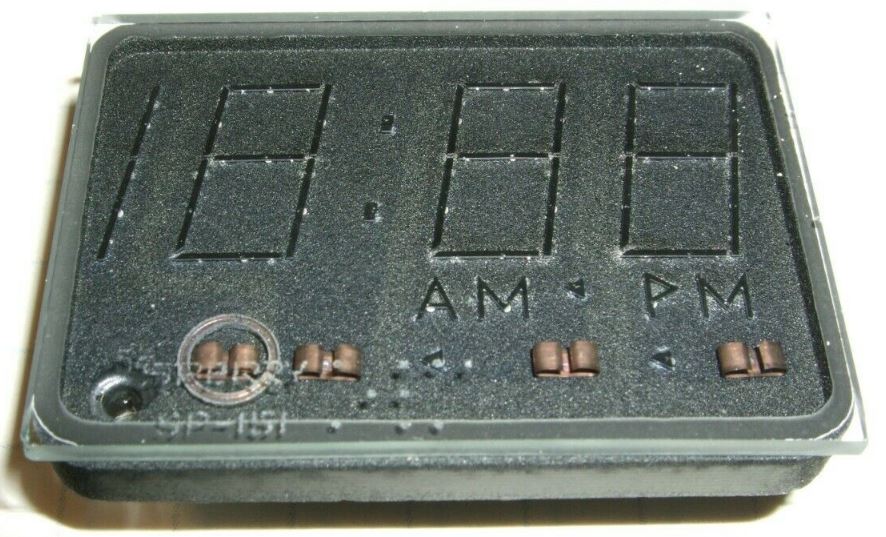
Close up of the SP-151 Panaplex display
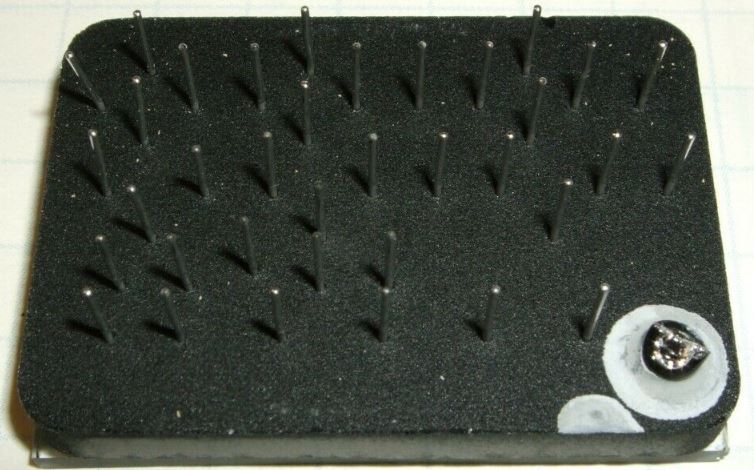
Unless you can find the original socket, mounting the thing could be a challenge, fortunately the original datasheet provides the precise dimensions of the pin layout.
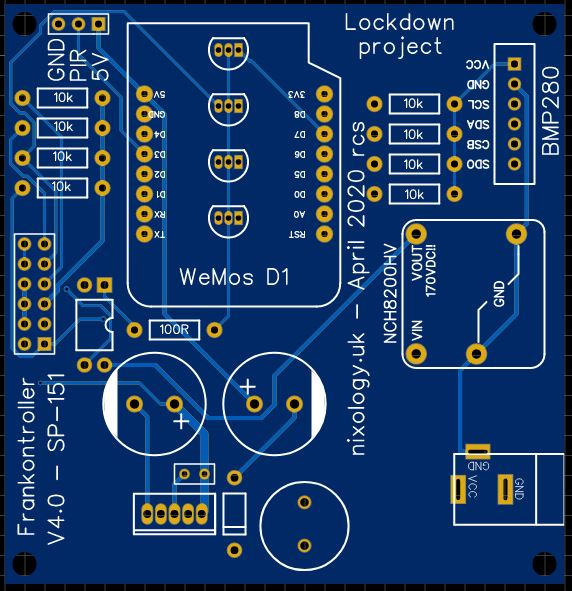
Frankontroller 4 for the SP-151 clock
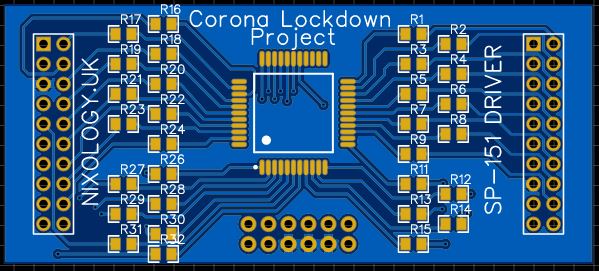
The driver board which holds the HV5622 driver and cathode series resistors
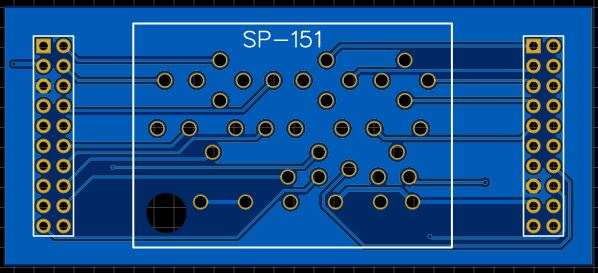
The display board which uses socket pins from turned pin IC sockets
The different parts
I ended up making a board to hold the display, behind this there is a driver board which holds the HV5622 and series resistors, behind that there is the controller board which houses the WeMos micro, 5V and HV power supples and level shifters etc.
The HV5622 spec says it likes 12V logic so that’s what I used. This circuit uses 2N7000’s to perform the level shifting. I had also incorporated an Opto Coupler driven method of applying a PWM signal to the HV supply to perform display dimming though ultimately I used the Blanking signal on the HV5622 to achieve this (It’s a continual learning experience!).
I chose to use the very tiny NCH8200HV 170V generator to save more space, the 5V supply is derived from a 12V power source using an LM2596-5 based circuit.
The controller has now been redesigned making it about 15-20mm narrower and a little less deep. The opto-coupler circuit has gone and the 2N7000 level shifters have been replaced with a CD40109.
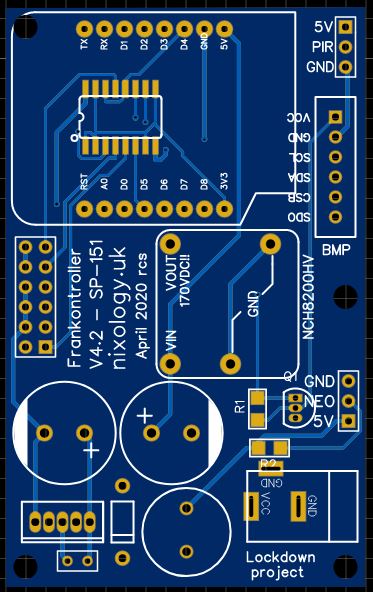
Here is what the controller looks like now with the redesigned level shifter and the redundant opto-coupler components removed. I recently found out that APA-106 style LED’s work just fine from 3V3 supply so I could even remove the level shifter components for those too (Q1, R1 and R2) then power them at 3V3 and drive them directly from the WeMos. In reality I don’t even think that this design actually needs the LEDs!
Coding the thing
Because I already had some code for a Wemos which drives an HV5622 I decided to use that but to modify the output routines so that I ended up with a static display of the time in HH:MM albeit with a flashing colon to indicate the passing of seconds. The time format has to be based on a 12hr clock as the leading ‘H’ can only display a ‘1’ or nothing though there are AM and PM indicators that are used.
At 30 seconds past each minute the display alternately shows the date as DD then MM then YY or the temperature and pressure as CC then PPPP before returning to the clock display.
For testing the prototype I dimmed the display using only a 10% duty cycle which is easily visible at night whilst also changing the on and off hours to make the thing stay on permanently.
There is the option of adding a motion detector which negates the use of the on and off hours settings though does require movement to turn the display on.
All these things are configurable and optional.
If you would like to build one of these then I am happy to supply bare boards or kits (excluding displays) as well as the required software (compiled and source). Please use the contact form on this site.
